

I made some proper crispy gluten free spring rolls / egg rolls!
For ages now, I’ve had this idea to use gluten free Jus Rol puff pastry (but rolled much thinner) as an alternative to spring roll wrappers and finally got around to it this week. The result was perfect and so crispy!
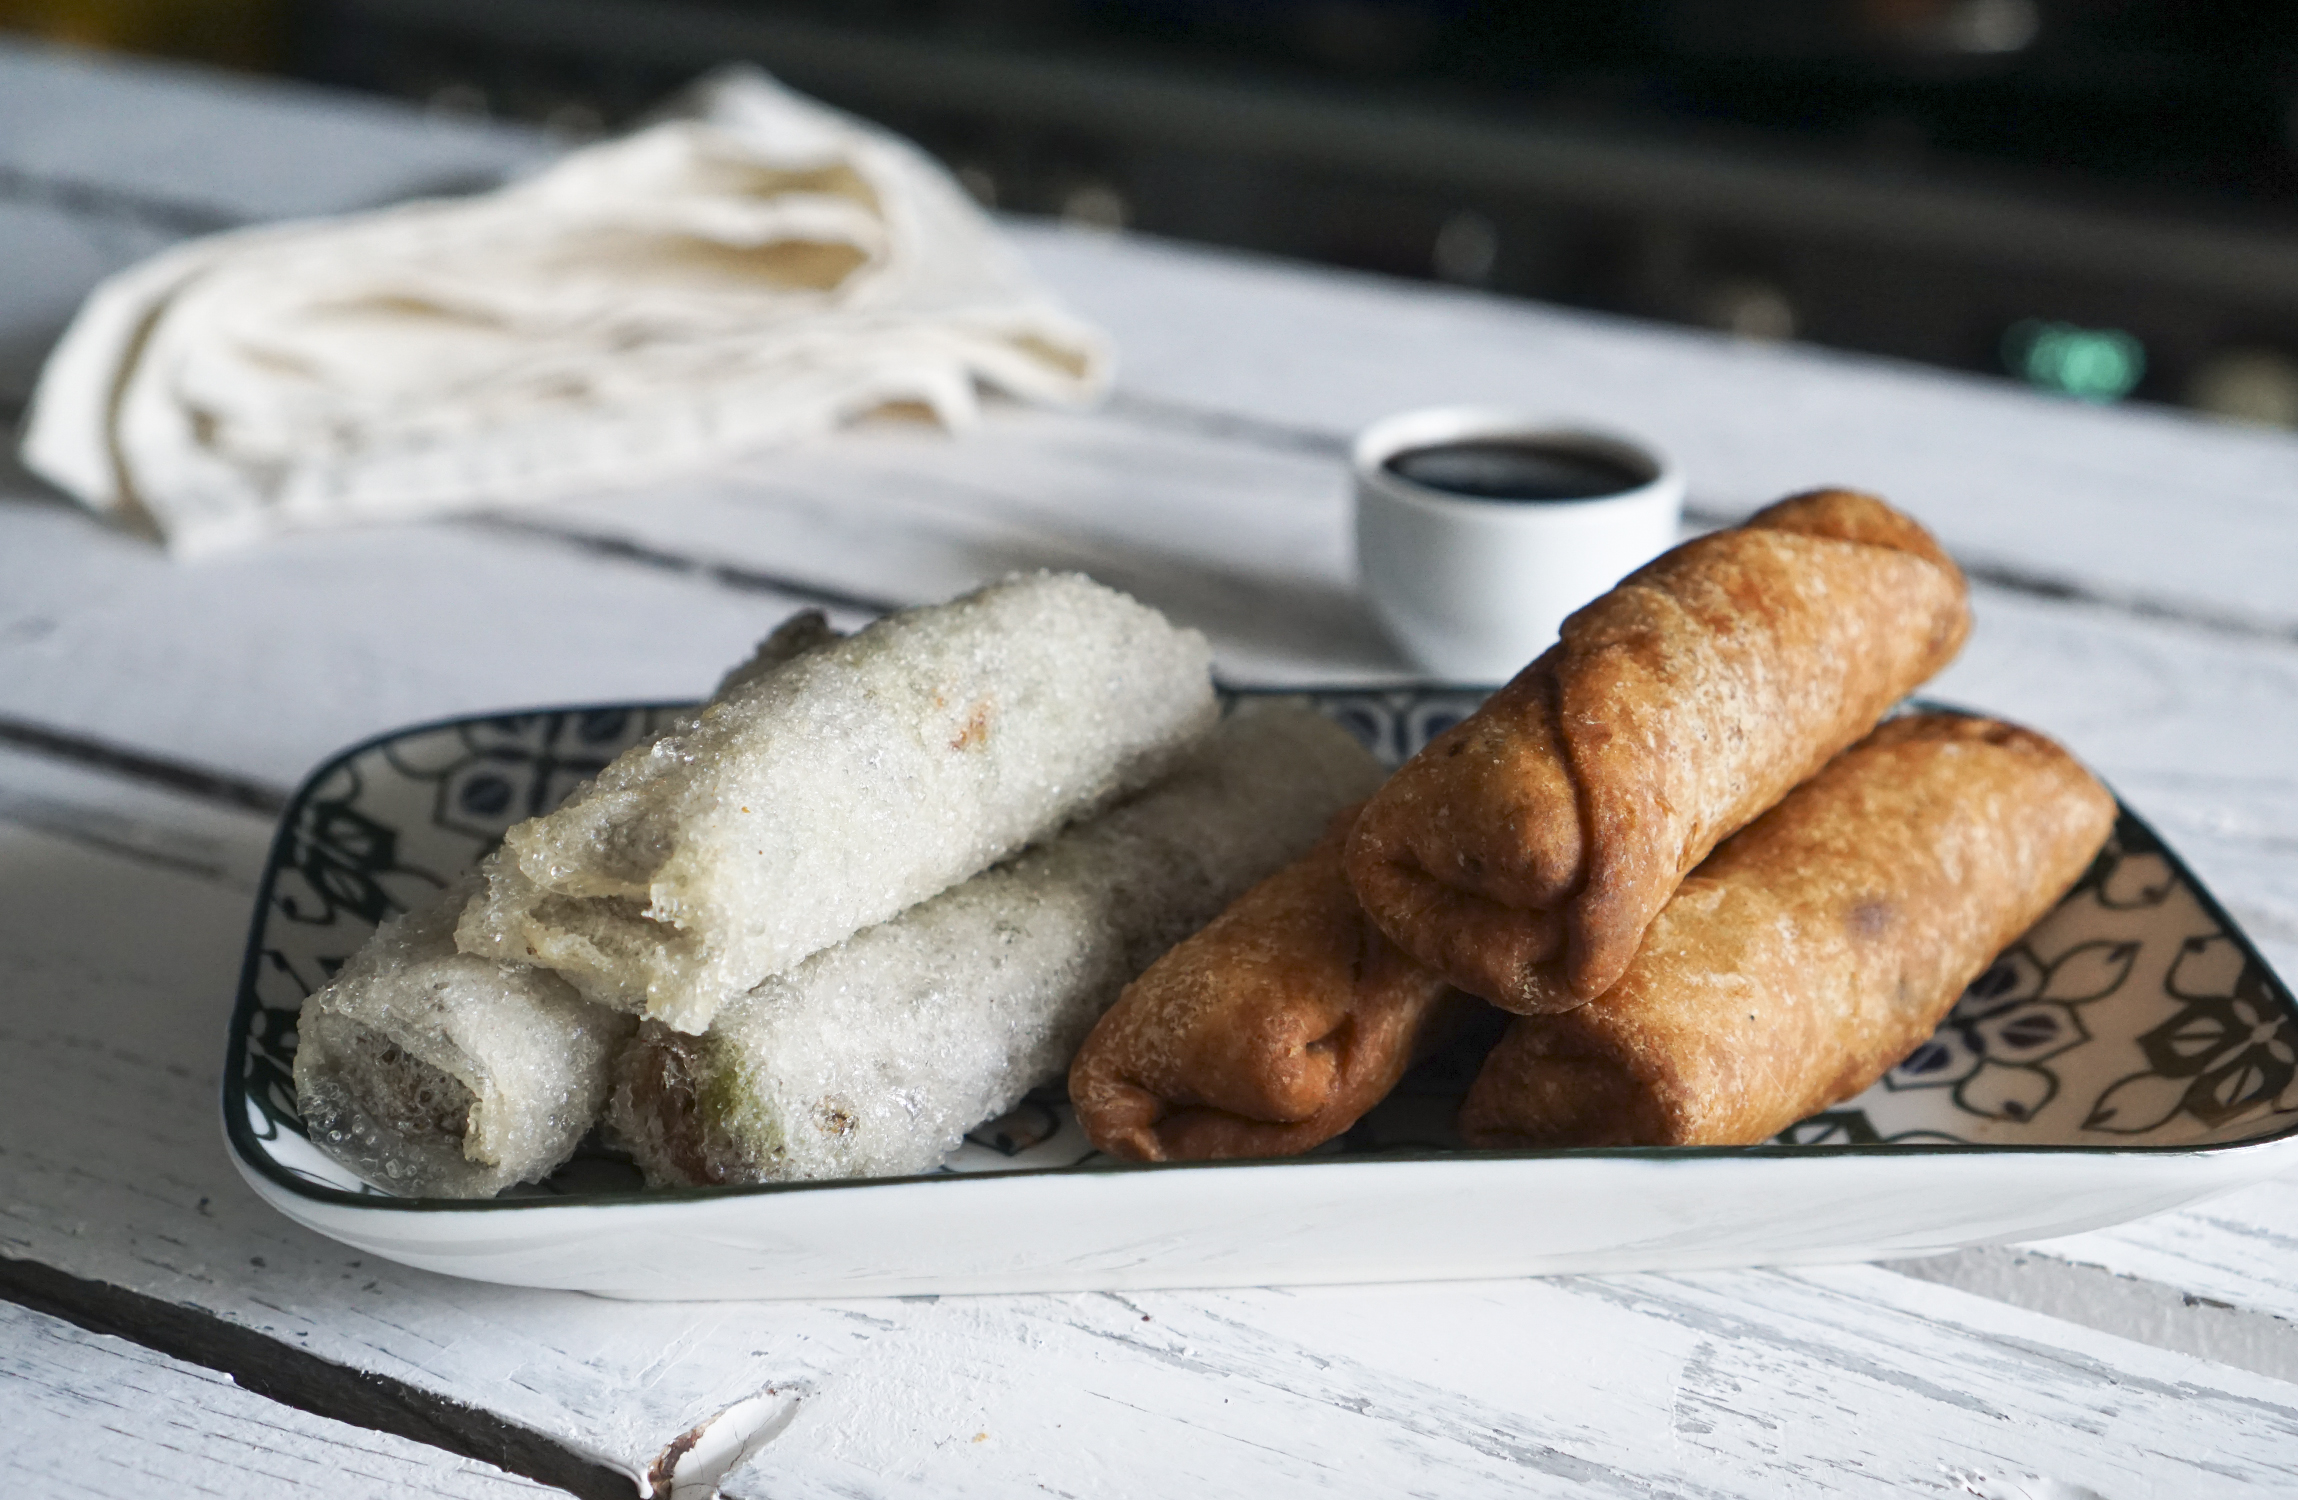
I also decided to include a more accessible version with rice paper which is a bit different, but very crispy and just as good in its own way.
I’m still waiting for the day that gluten free spring roll wrappers will exist on the market, but until then, we have to find creative ways to get around this issue. 😉
 |
 |
EDIT (14.02.21): after posting these, I also decided to make my own spring roll wrappers from scratch. I had tried a couple of times in the past, but always with disappointing results. These aren’t perfect yet / they’re still a work in progress, but they’re not bad at all and very crispy! So I’m including them here for those who don’t have access to any of the other options. 🙂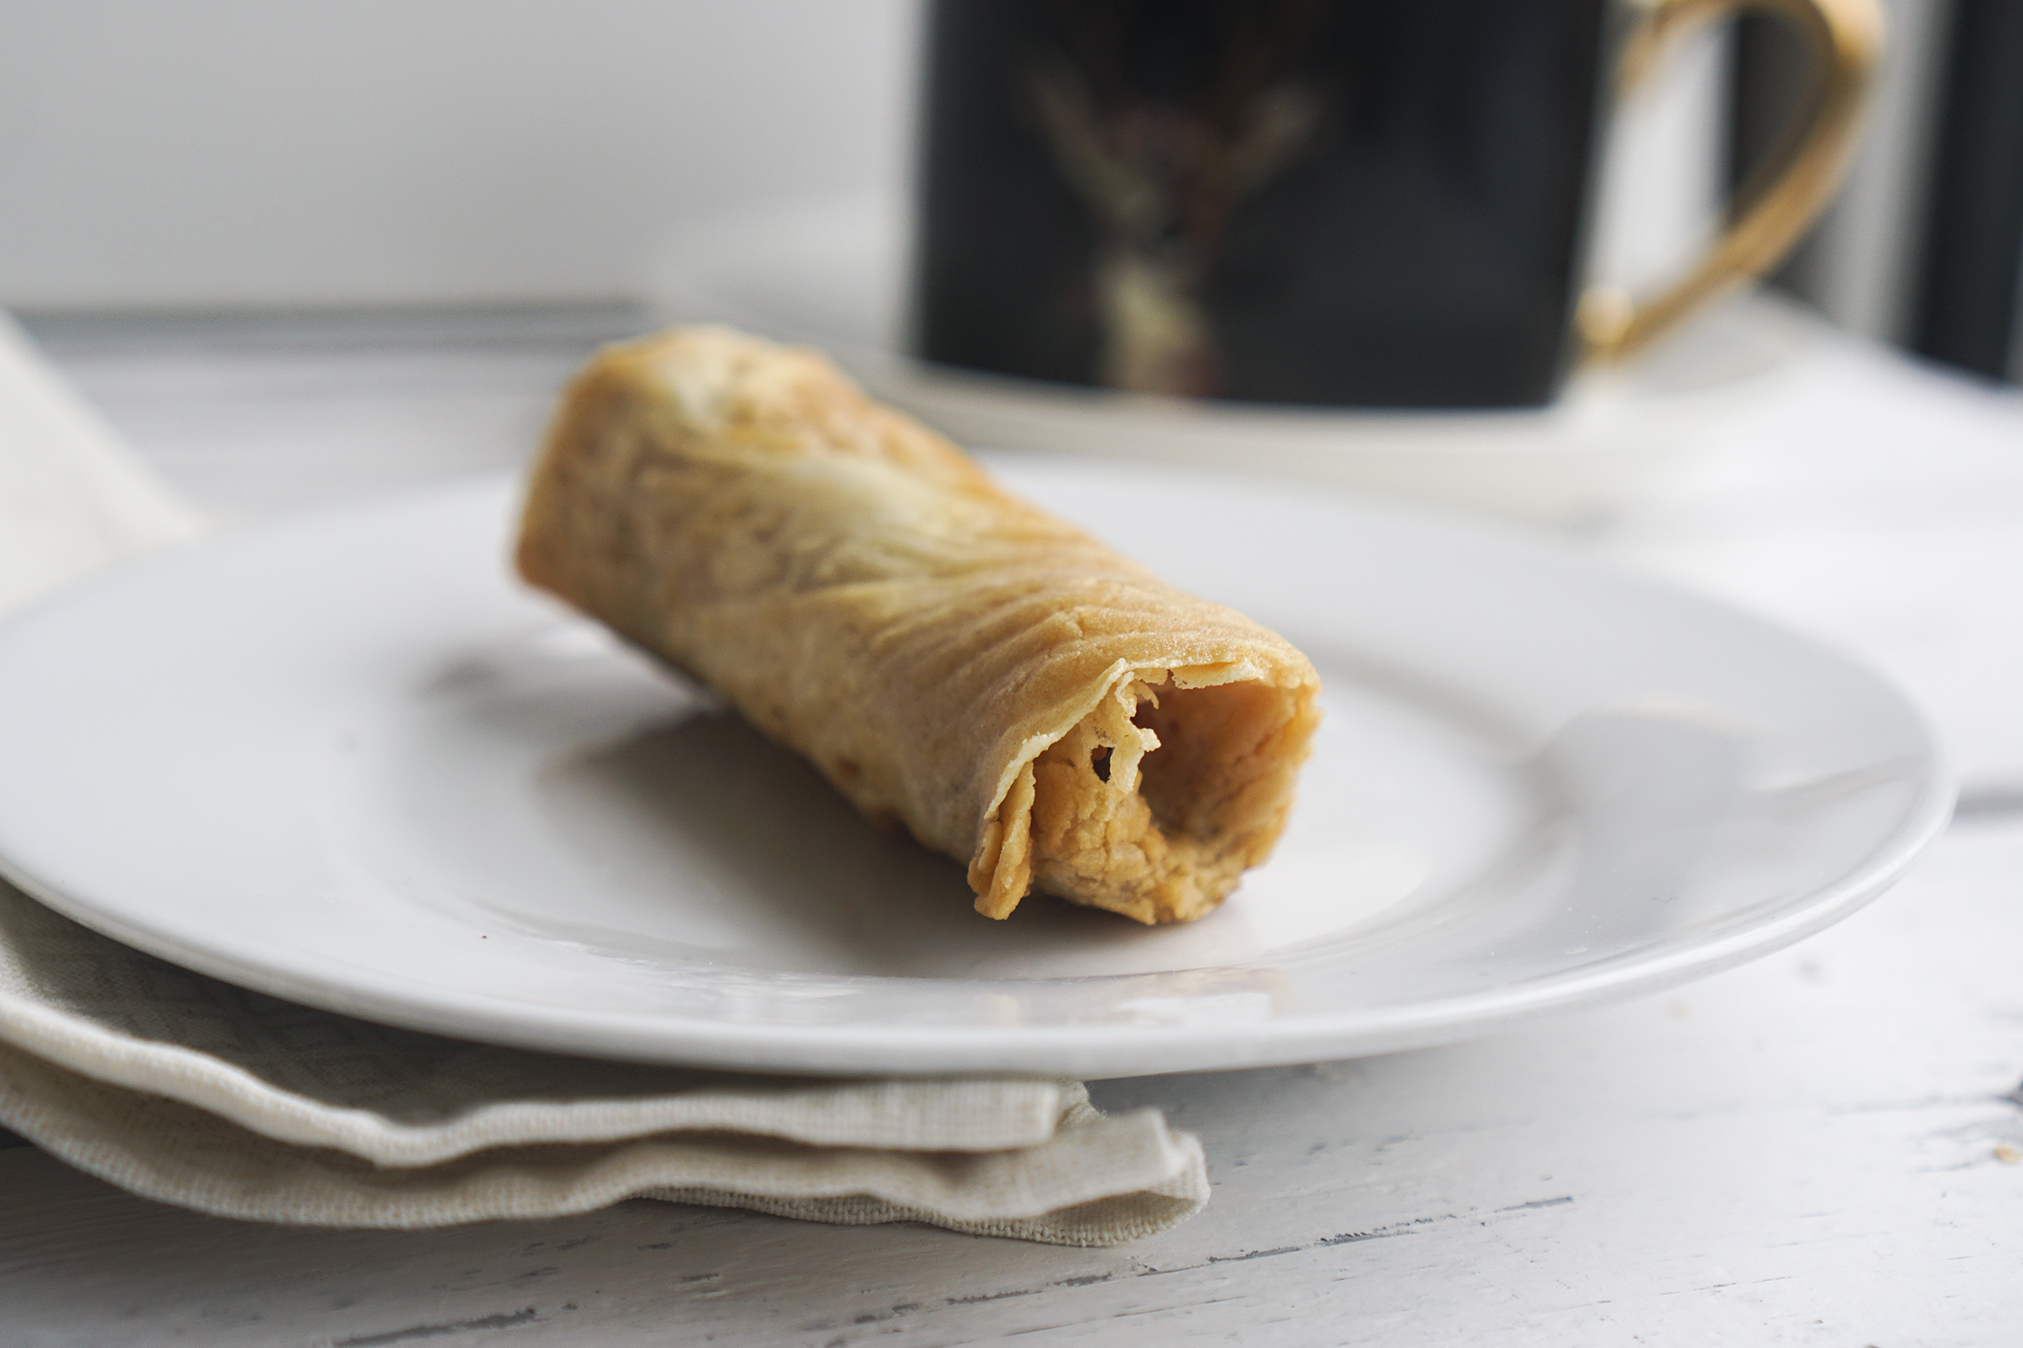
MY TIPS:
The trick is to tuck the filling in tightly.
You don’t want them to be loosely wrapped and airy inside.
Buy ready-rolled puff pastry if you can.
Luckily the one I’m using (by the brand Jus Rol) comes already rolled which saves a lot of time! I haven’t tried this recipe with any of the other gluten free puff pastry brands available yet, but they should work too.
Where to buy rice paper?
If you have any Chinese/Asian shops near you, then this is your best bet. They always have a bunch of different brands available and you can usually find at least one that’s certified gluten free.
Large mainstream supermarkets are a bit hit and miss, but they sometimes stock it in the world food section.
Whole Foods and health food shops like Planet Organic also tend to sell them.
Otherwise you can always buy them online. 🙂
Using lard to deep fry:
As I mentioned in the ingredients, I personally used lard. There is a lot of debate around this subject with some completely demonising animal fats, while others say it’s in fact healthier than vegetable oil and saturated fats are not to blame in the end. Either way, deep frying is never about health, am I right? haha It’s an occasional treat for me so I’m not here to convince you…. but among other things, lard has a higher smoke point (making it more suitable for cooking at high heat) AND it makes things crispier. It doesn’t have that greasy feel and taste of vegetable oil. So this is what I choose to use. 😉
Just a word of warning though… If you decide to use lard, don’t be scared away by the smell. I won’t lie, the initial scent can be quite potent (be sure to have your extraction fan on and/or open a window LOL), but I promise it doesn’t translate into taste. The result is largely flavourless!
But of course, you can use vegetable oil if that’s what you prefer. 🙂
For the filling:
This time I simply used leftover Chinese crispy duck I had in the fridge with spring onion. I just wanted to test different wrapper alternatives for gluten free spring rolls.
I’ll update this post soon with different filling and dipping sauce ideas. 🙂

- Gluten free puff pastry (I used Jus Rol) or
- Rice paper / rice wrappers (like these) or
- Homemade wrappers
- 40g all purpose gluten free self-raising flour (I used ASDA)
- *Add a pinch of xanthan gum if your flour blend doesn't already contain it
- *Add ¾ tsp baking powder if using a plain flour blend instead of self-raising
- 15g tapioca starch
- 1 egg white
- ¼ tsp salt
- Water
- Vegetable oil or cooking fat of your choice (I used lard)
- Anything you'd like! (I used homemade Chinese crispy duck and spring onions)
COOKING TIME: 5 to 7 minutes
Directions
FOR THE PUFF PASTRY VERSION:

- Let your puff pastry sit at room temperature for 10-15 minutes before unrolling it and getting started. This will make the pastry more flexible and less likely to crack. Note: if cracks do happen, just fix them by smudging them with your fingers.
- Unroll the pastry, cut it into squares and set them aside.
- On your work surface, carefully flatten your pastry squares with a rolling pin until they’re much thinner (as in the pictures above).
- Roll your spring rolls: add a bit of filling on one end and tuck it in tightly by folding one corner over. Keep rolling until you’re about half way, then fold both sides over, tucking in the fillings. Brush a bit of beaten egg on the remaining loose end (this will help seal it off) and complete the roll. Note: the trick is to roll them as tightly as possible.
- Set your spring rolls aside between two sheets of damp kitchen paper (to prevent them from drying).
- Pre-heat your fryer to 175C (350F). Alternatively you can use a saucepan with a couple of inches of vegetable oil or cooking fat of your choice and use a food thermometer to keep track of the temperature.
- Fry for 5 to 7 minutes, until golden and crispy. Note: be careful not to overcrowd the fryer or pan, cook them in small batches.
- Let them rest on paper towels or a cooling rack.
FOR THE RICE PAPER VERSION:

- Fill a large bowl with warm water, it should be wide enough to comfortably dip your rice wrappers in.
- Quickly dip a rice wrapper in the warm water (for just one or two seconds), then shake off any excess and place it on your work surface.
- Roll your spring rolls: add a bit of filling on one end and tuck it in tightly by folding one side over. Keep rolling very tightly until you’re about half way, then fold both sides over, tucking in the filling in the middle. Then complete the roll. Note: the wrapper should be flexible enough, but may still be somewhat dry/stiff. That’s completely normal.
- Set your spring rolls aside between two sheets of damp kitchen paper (to prevent them from drying). Note: make sure they aren’t touching or they may stick together.
- Pre-heat your fryer to 175C (350F). Alternatively you can use a saucepan with a couple of inches of vegetable oil or cooking fat of your choice and use a food thermometer to keep track of the temperature.
- Fry for 6 to 7 minutes, until bubbly and crispy. Note: be careful not to overcrowd the fryer or pan, cook them in small batches.
- Let them rest on paper towels or a cooling rack.
FOR HOMEMADE SPRING ROLLS WRAPPERS FROM SCRATCH:

- Prepare the batter: mix the flours and salt together in a bowl, add the egg white (keep the yolk in a separate bowl for later, we’ll use it when rolling the spring rolls), then add a bit of water (one teaspoon at a time) and mix with a whisk until you have the right consistency. It should be fairly runny, as in the pictures above.
- Cover it with cling film and set aside for at least 10 mins or so.
- Heat up a non-stick frying pan on very low heat and grease it with a tiny bit of olive oil.
- With a pastry brush, add a thin layer of batter in your pan (like in the pictures above).
- Let it cook briefly. When ready, you’ll notice the sides start to lift off the pan easily with the help of a spatula. There’s no need to cook it on the other side as they’re so thin.
- Set aside on a plate and cover them with a damp paper towel or cloth to prevent them from drying and cracking while you cook the rest.
- Roll your spring rolls: add a bit of filling on one end and tuck it in by folding one side over. Keep rolling tightly until you’re about half way, then fold both sides over, tucking in the filling in the middle. Brush a bit of the leftover egg yolk on the remaining loose end (this will help seal and secure your spring rolls). Then complete the roll.
- Set aside on a plate, covered with a damp paper towel or cloth to prevent them from drying.
- Pre-heat your fryer to 175C (350F). Alternatively you can use a saucepan with a couple of inches of vegetable oil or cooking fat of your choice and use a food thermometer to keep track of the temperature.
- Fry for 6 to 7 minutes, until crispy and slightly golden. Note: be careful not to overcrowd the fryer or pan, cook them in small batches.
- Let them rest on paper towels or a cooling rack.
Kimi x
